Headers and footers are two key elements of every layout. They help readers understand the editorial intent and essential information about an article, section, or page. When it comes to headers and footers in WordPress, you have a few options for customizing their Appearance and layout.
This tutorial will teach you to edit header and footer with Elementor by utilizing some of the most useful Elementor plugins for working with headers and footers. These plugins will make working with headers and footers much easier than before. Let’s get started!
What are Header and Footer in WordPress?
The header and footer are components of each page or post in WordPress. They are designed primarily for navigation and can contain links to your other posts, archives, related articles, and more.
The header and footer are components that can create a consistent editorial look across your website. This includes navigation links at the top of each page and the ability to include links to related posts at the bottom of each page.
The header and footer can be created with the built-in WordPress page editor. However, these elements can be made easier with Elementor. Elementor is a popular page builder plugin that enables users to create stunning websites and blogs in seconds.
Elementor combines simplicity with advanced functionality to help you create an innovative site that leaves no room for confusion.
Read also: Remove header and footer from wordpress page
1) Create Elementor Header or Elementor Footer with ElementsKit
Creating an elementor header and footer using the ElementsKit plugin is straightforward. But, first, you have to install the Elementkit plugin to be able to create the header and footer for the WordPress website.
First, you have to install the ElementsKit plugin in wordpress. Then, go to your Plugins > Add New in the wordpress dashboard.
Search for ElementsKit Plugin in the search bar and install and activate it.
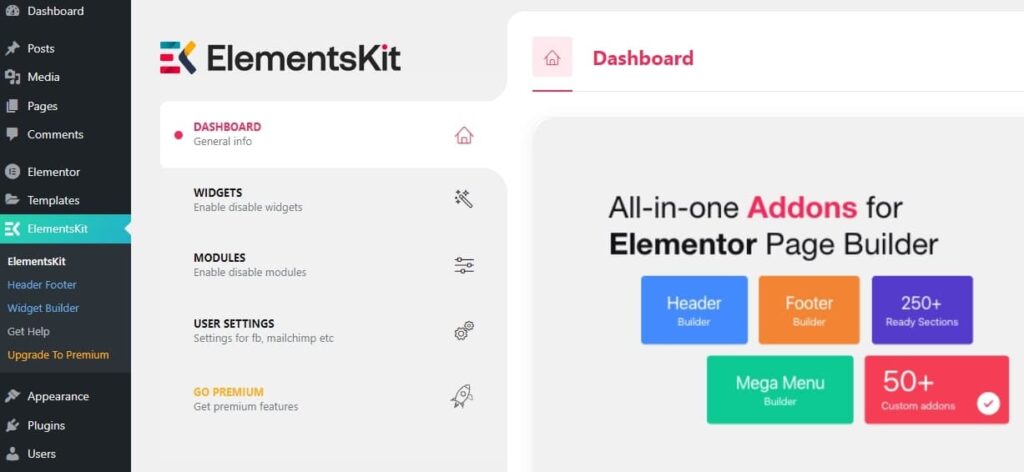
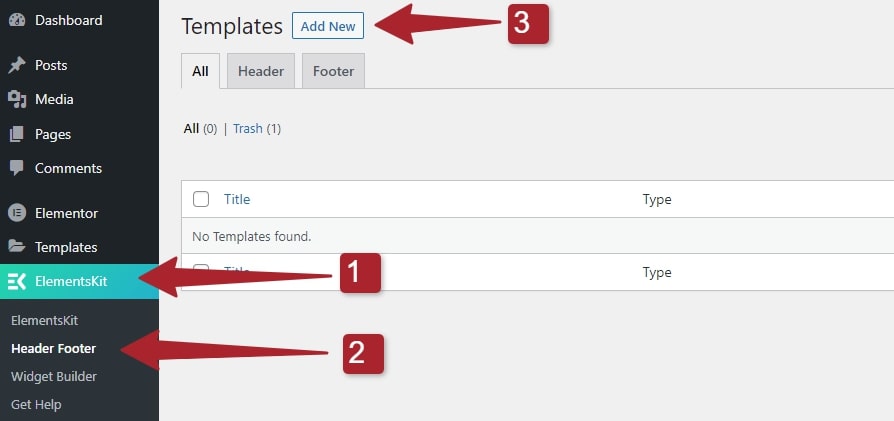
Now in your WordPress dashboard Side menu, you will see the ElementsKit option Click on it and go to the Header and Footer options.
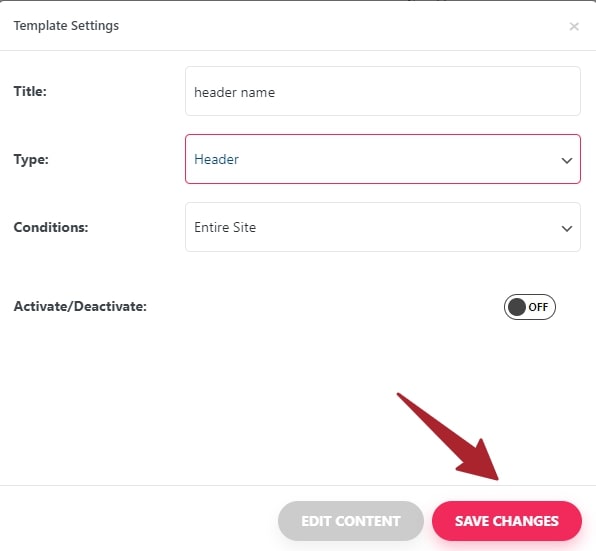
It will take you to the header and footer builder page, where you can add a new header or footer by clicking on the Add New. Next, it will open a template settings window where you will assign a name to the header and visibility condition, for example, the entire site, singular page.
Here you will also assign whether it will be a footer or header in the condition tab, and save it.
You have successfully created your header or footer in wordpress
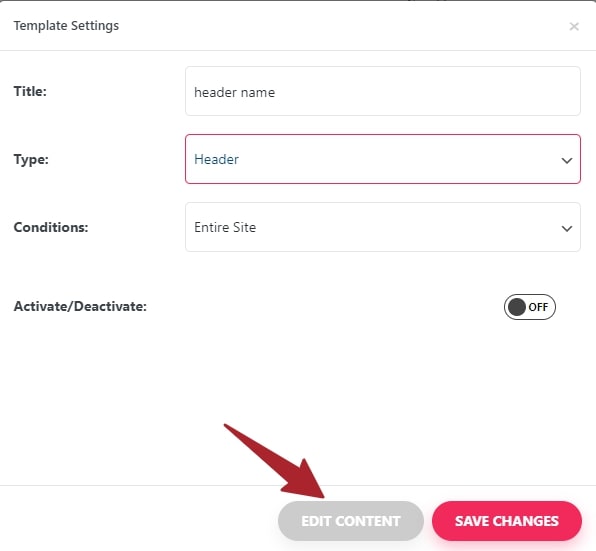
As we have created a header, to edit the header, we have to click on Edit with elementor button. It will open an elementor page where you will have 3 icons.
Click on the ElementsKit Icon, which will open an ElementsKit Library with different layouts and sections. Next, select the header from the library category, showing only the header.
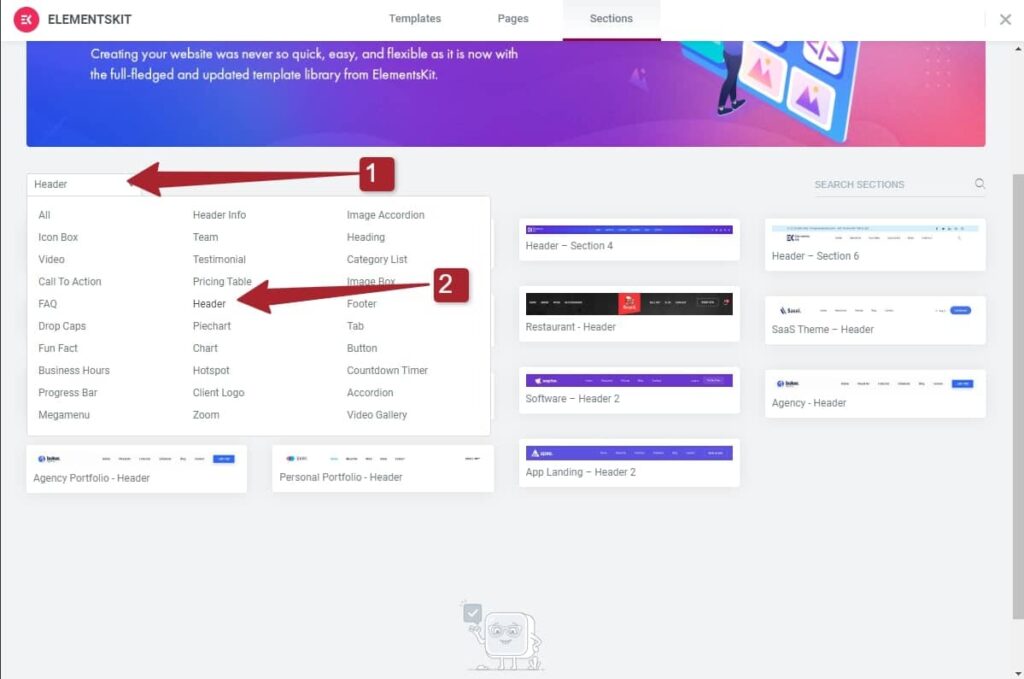
Insert the header, and it will be inserted. Now, if you have already created a menu in your wordpress dashboard, then it will automatically be shown there, But if not, you can head back to your wordpress dashboard and create a menu for your website by navigating to Appearance > Menu, and once created head back to elementor header page and refresh it and your menu will be shown there.
What should I do for the Footer?
All the steps will be the same for the footer, but instead of selecting the header on the template setting page, you have to select the footer. In ElementsKit Library, you will choose the footer in the category, showing the footer designs.
Congrats! You finally created a header and footer on your website.
2) Elementor Header & Footer Builder Plugin
The Elementor Header & Footer Builder plugin lets you easily create custom headers, footers, and blocks for your website using Elementor. This tool enhances Elementor’s capabilities and is straightforward to set up. Here’s a simplified guide on how to get started:
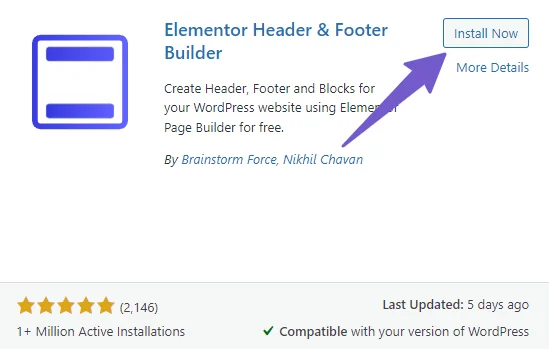
1. Install and Activate the Plugin:
First, make sure you have the Elementor plugin installed on your WordPress website. Search for the ‘Elementor Header & Footer Builder’ plugin in your WordPress dashboard and install it. After installation, activate the plugin.
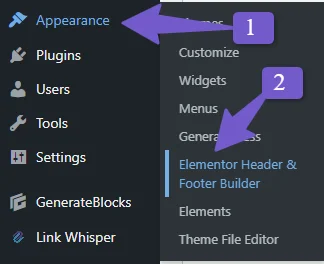
2. Access the Plugin:
In your WordPress dashboard, go to ‘Appearance’ and select ‘Header Footer Builder.’
3. Compatibility Check:
Note that this plugin works best with specific WordPress themes. You have two options if your theme isn’t compatible:
a. Install a compatible theme (such as Astra, Neve, Hestia, etc.).
b. Click on the ‘Theme Support’ tab in the plugin settings and follow the provided instructions to make your theme compatible.
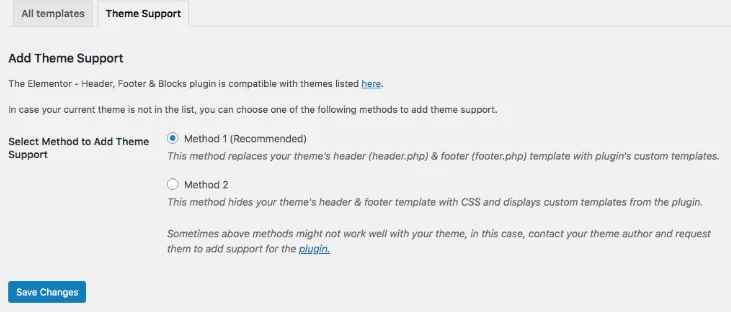
But if you don’t see any Theme support tab in the plugin settings then it means the plugin is compatible with the theme and you can go to the next step
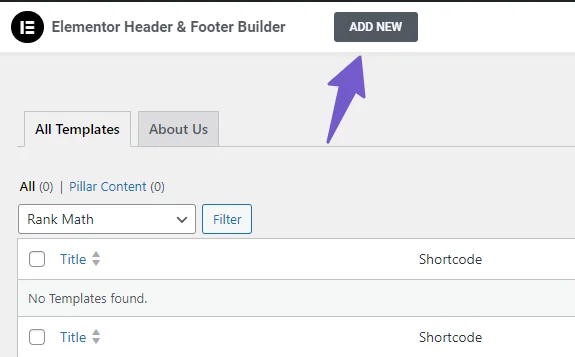
4. Create a New Header or Footer:
Once compatibility is sorted, click ‘Add New’ in the template section.
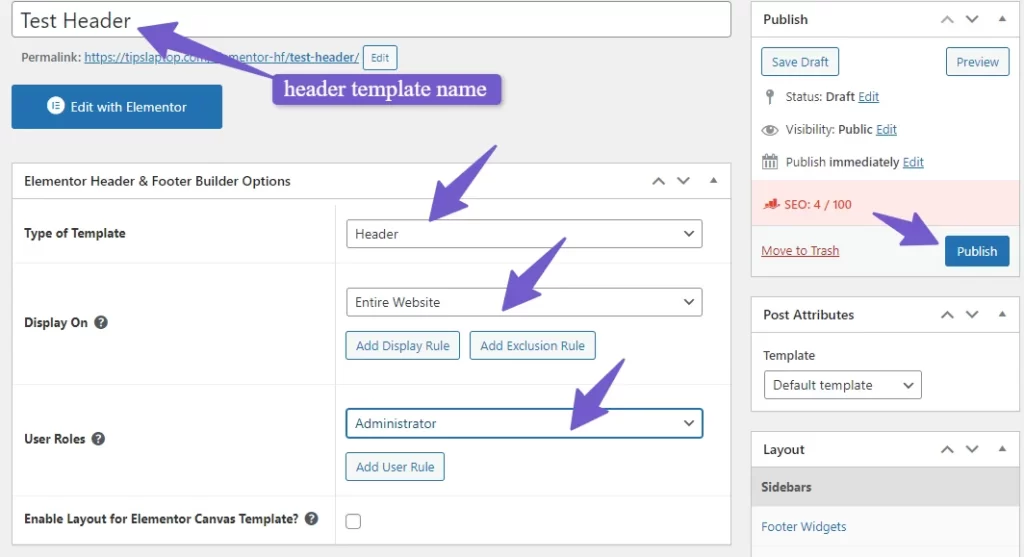
5. Configuring Header/Footer Options:
- Name your template.
- Choose the type of template: Header, footer, or custom block.
- Define where it should be displayed on your site and set up display rules.
- Select user roles allowed to edit.
- Optionally, enable ‘Layout for Elementor Canvas’ for special editing options.
- Click ‘Publish’ to save your template settings.
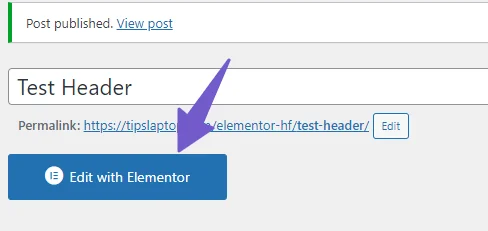
6. Edit with Elementor:
Now, you can design your header or footer using Elementor. Click ‘Edit with Elementor’ to open the Elementor editor. In the Elementor editor, build and design your header or footer layout as you like.
7. Publish Your Changes:
Once you’re satisfied, click the green ‘Publish’ button at the bottom of the editor.
8. Display Your Custom Header/Footer:
Your custom header/footer will now display on your website based on the rules you set during configuration. You can also use a shortcode to display it in various parts of your website.
That’s it! You’ve successfully created and customized your website’s header or footer using the Elementor – Header, Footer, and Blocks plugin.”
3) Edit Your WordPress Header in Elementor Pro
This method is for those users that are using Elementor Pro if you are using a free version of Elementor you can skip to the next heading where I made an Elementor header using free resources.
Edit your header and footer easily by following these steps:
- Go to WordPress Dashboard > Templates > ThemeBuilder
- Click Add New Template and choose Header (or Footer)
- Name your header template and click Create Header (or Footer)
- You can now either choose a premade header template or create your own.
- When you’ve finished editing the header (or footer) design, click publish, and then choose where to post the header (or footer). The header (or footer) is automatically published to the entire site.
- That’s it! You can now see your handcrafted header (or footer) live on your site.
FAQ(How to Edit Header and Footer with Elementor in WordPress)
Below are some most common Faq related to Edit Header and Footer with Elementor
How do I edit the header and footer with elementor in wordpress I
- Install ElementsKit Plugin:
- Install and activate the ElementsKit plugin in your WordPress dashboard.
- Create Header/Footer:
- Access ‘Header and Footer’ in ElementsKit.
- Add a new header/footer, assign a name, and set visibility conditions.
- Customize Header:
- Click ‘Edit with Elementor’ to customize.
- Choose an Elementor header/footer from the ElementsKit Library.
- Insert it and refresh it to display your menu.
- Edit Footer:
- For the footer, select ‘footer’ in template settings.
- Pick a footer design from the ElementsKit Library.
Why can’t I edit my header in Elementor?
You cannot change the header on your page with the free Elementor version. If you’re using our Pro version, you can contact Elementor support; else, you can use free plugins to add support for adding header and footer in Elementor.
Elementor header and footer Builder not working?
There is not enough memory available on the site because of the number of plugins installed. Therefore, it is recommended that you install at least 256MB of memory. However, if you have a lot of plugins installed on your end, it is suggested that you increase your memory to at least 512MB.
Users need to edit the wp-config.php file to increase the WordPress memory limit.
Add this to the top, before the line that says, “/* That’s all, stop editing! Happy publishing. */”:
define(‘WP_MEMORY_LIMIT’, ‘512M’);
Check the memory in the Elementor > System Info after making the changes.
Elementor header not showing?
Check if Elementor Canvas is enabled on your homepage settings. If your homepage settings are correct, ensure you’re seeing the Elementor Canvas page layout.
If you don’t see it, try disabling all your plugins other than Elementor and see if that helps. If it does, re-enable them one by one to find the problem.
Conclusion
Editing header and footer in WordPress is easy with Elementor and ElementsKit plugin. You can add a header and footer with a few clicks. Once you create the elements, you can customize the header and footer settings and add a logo or color scheme. As a result, wordPress provides a consistent look across your site with a header and footer.
If you still have any questions regarding how to edit the header and footer in elementor you can ask via comment and we will be happy to assist you.
You May Like to Read:
How To Duplicate A Page In Elementor
How to Use Z-Index in Elementor