The Elementor Page Builder lets you create websites in no time—and it keeps getting better with every update.
Despite its growing popularity, Elementor still has a few limitations. For instance, it does not allow users to add vertical dividers within the editor. This article will explain how to add vertical divider in Elementor to help you create the perfect website. Let us dive in.
What is a Vertical Divider in Elementor?
A vertical divider is an element that allows you to separate content into different sections. It is a great way to create a visual hierarchy for your website and allows users to navigate through it easily. Vertical dividers are also known as dashes, lines or separators.
They are usually placed between paragraphs of text or images but can also be used as headings or call-out boxes on other elements such as buttons.
How to Add Vertical Divider in Elementor
If you are an elementor pro user or using a free elementor plugin, I have a solution for both, so let us get started!
Add Vertical Divider In Elementor Pro
Step 1. Add a new Elementor section
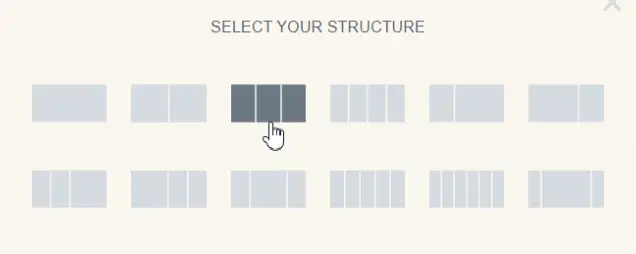
The first thing you have to do is to add a new elementor section having 3 columns so in order to separate it using a line in between the section.
Add two image elements or whatever element you want to the side columns leaving the middle one as it is.

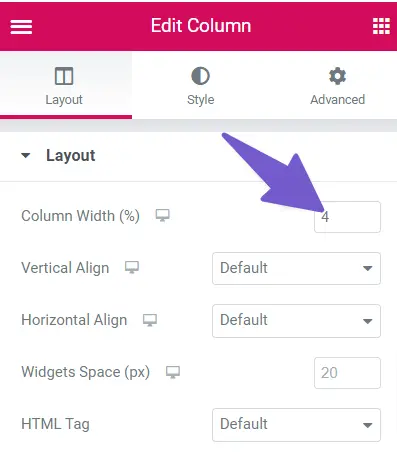
Step 2. Adjust the Columns Width of Elementor Section
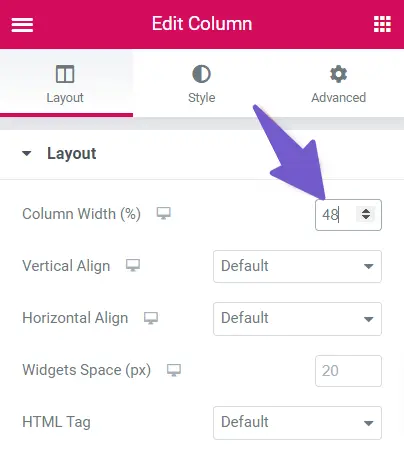
Hover over the middle column, and the icon will pop out. Click on it to open the column settings in the right panel.
Change the column width under the layout tab to 4% in order to make the middle column narrower so the divider fits in.
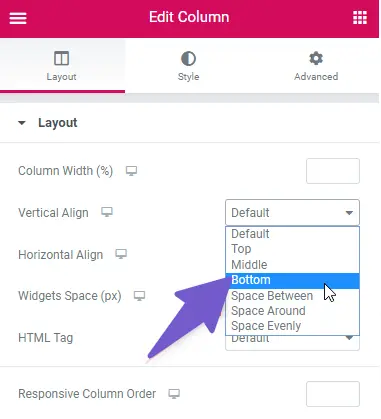
Also, change the column vertical-align attribute to the bottom, as shown in the picture below.
Also, adjust the right and left column width if it is not correct.
Step 3. Add Elementor vertical divider

Add the vertical divider element of the elementor to the middle column section, open the column layout setting from the side menu, and change the vertical alignment of the column to the bottom, as shown in the picture below.
Step 4. Change Elementor divider properties
To access elementor divider properties, hover over the divider elementor in the middle column a pencil icon will appear. Click on it, and it will open a divider edit panel on the left side.
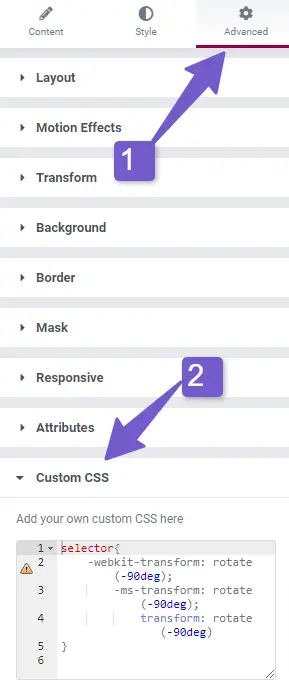
Now go to advance, open the Custom CSS tab, and paste the following CSS code.
Vertical Divider Elementor CSS
selector{
    -webkit-transform: rotate(-90deg);
        -ms-transform: rotate(-90deg);
            transform: rotate(-90deg)
}
Step 5. Style Vertical Divider Elementor
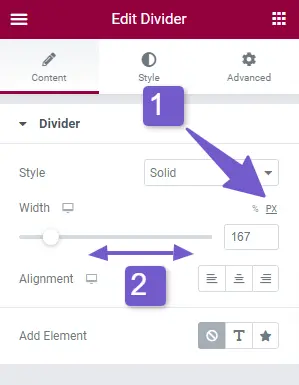
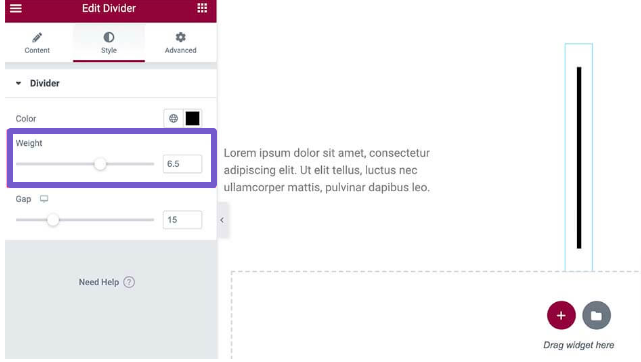
In the edit divider panel, you can adjust its height by sliding the toggle left to right. For this, you have to change the unit to PX, and sliding the toggle, will increase or decrease the height of the elementor divider.
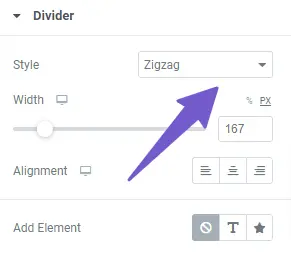
Also, you can style the divider by adding different line styles like a zig zag and dotted and icon/text to the divider elementor line.

Add Vertical Divider In Elementor Free Version
Adding a vertical divider in the free version of the elementor is the same as we did in the paid version. However, we have to follow a different approach, so follow the steps below to add a vertical line in the elementor free version.
Step 1. Add divider widget to elementor column

Drag a divider widget to the elementor column and set its width according to your need.
Step 2. Add the code for the vertical divider in Elementor
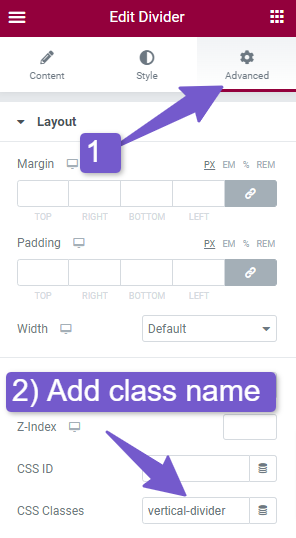
Now go to the advance tab and enter a name for your divider class in the CSS class box; doing so, we will only target the specific divider, not affecting all other dividers and paste the CSS code below.
Vertical Divider CSS code in Elementor
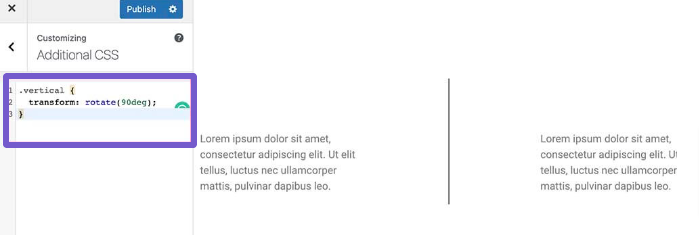
.vertical-divider { transform: rotate(90deg); }
Step 3. Adjust the Vertical divider
The CSS code we pasted in step 2 will flip the divider from horizontal to vertical position, and you can adjust its width, color and other properties from the side panel.
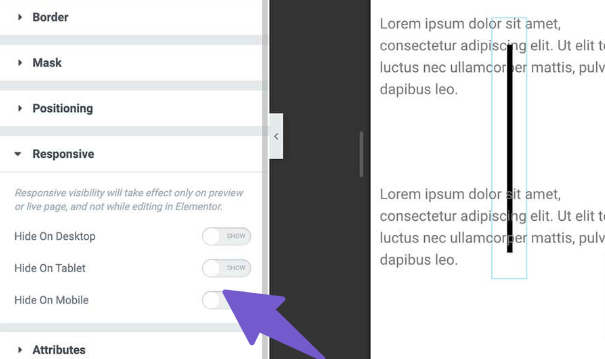
So that is it. This method will only work if you have columns next to each other, like on a desktop, but on mobile, it will not look good, so you will have to hide it from the responsive tab in the advance menu.
Add Vertical Divider in Elementor Using Plugin
If you are confused with the above method or are someone that loves to add plugins for the most basic task, then this method is for you.
Adding a vertical divider using the plugin will not require adding CSS or code from the user side. With a plugin, you can easily customize the widget color, weight and other properties.
To add a plugin, Go to your WordPress dashboard, Navigate to Plugins > Add New and Search for PowerPack Addons for the elementor plugin.
Once the plugin is installed and activated, go to the page you want to add a vertical divider for, scroll down the elements sidebar of the elementor and look for the divider of Powerpack.
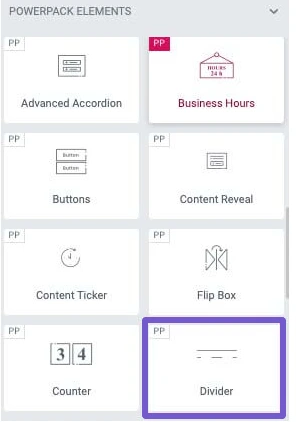
Once you find it add it to the desired location on the page, and you will have an option to change the direction of the divider in the divider edit menu.
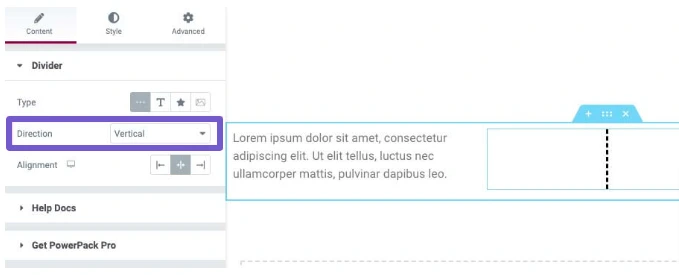
You can also change the style of the divider from the style tab from dotted to dashed or double,
Once you are done with the changes, update the page and visit the page to check if everything is working correctly.
Why Are Vertical Dividers Important?
Vertical dividers are important because they help create a visual hierarchy for your website. They can be used to separate different content sections or highlight certain elements like headings and call-outs.
This makes it easier for users to understand the structure of your site and reduces confusion when reading through information.
Vertical dividers are also important because they help create a more professional and polished look for your website.
They also help to create a visual flow throughout your site. This makes it easier for users to navigate the different content sections and reduces clutter on your page. By using vertical dividers, you can create a more organized and structured website that is easy for users to understand.
You may Like:
How to Edit Header and Footer with Elementor in WordPress
How To Duplicate A Page In Elementor
How to Use Z-Index in Elementor
FAQ (How To Add Vertical Divider In Elementor)
How do you add a line between columns in an Elementor?
Add A divider widget from the elementor elements panel and add this line of CSS code in your Custom CSS.
selector{
-webkit-transform: rotate(-90deg);
-ms-transform: rotate(-90deg);
transform: rotate(-90deg)
}
To add a vertical line between two columns in elementor
Elementor Divider not showing?
Plugin conflict can cause the issue of the elementor divider not showing. You can fix it by disabling plugins one by one and finding the plugin that is causing the issue.
How to add a vertical divider in WordPress?
One way would be to group each location inside a div and use border-left (or border-right, depending on what you want) instead of an hr.<div class="location"> ... </div>.location { border-left: 5px solid #fcb500; }
Conclusion
In this guide, we have explained how to add a vertical divider to your Elementor site. Vertical dividers can be a great way to add some visual interest to your site. We hope you have learned something new about this feature of Elementor. If we missed anything, feel free to reach out via email.
You may Like:
How to Change Background Image in Elementor